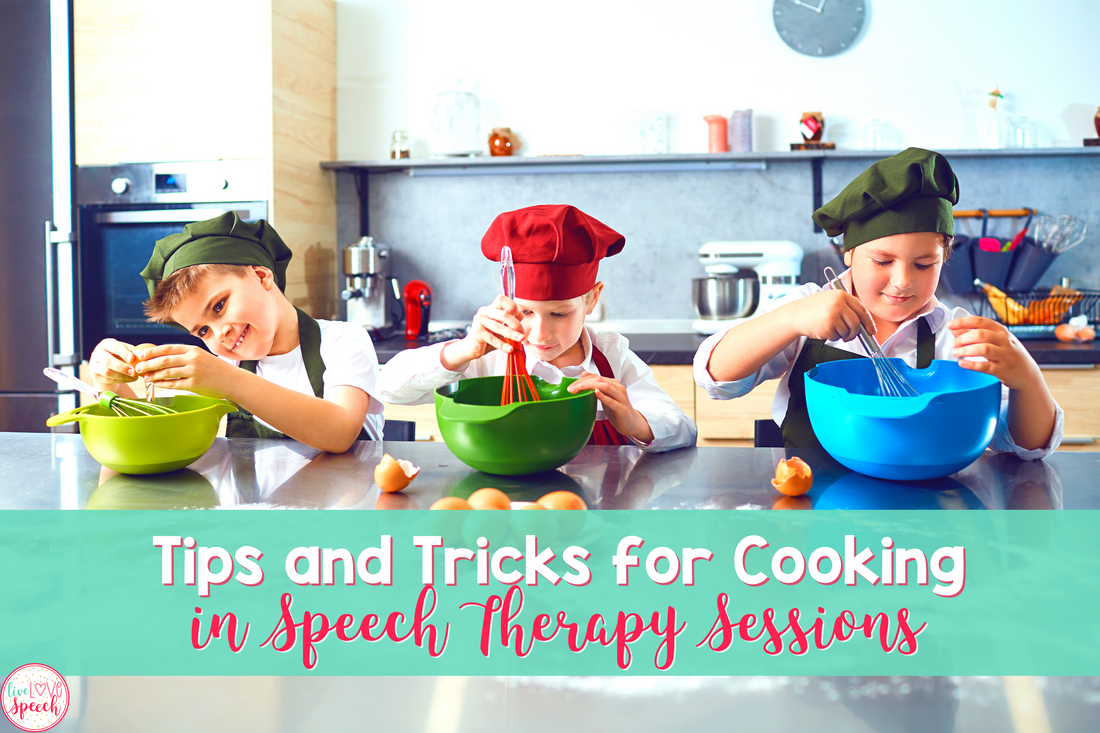
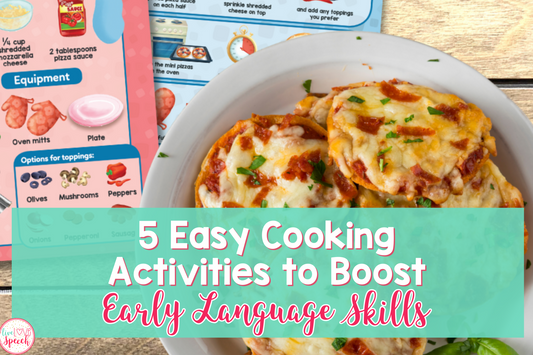
If you know me, you know that cooking in speech sessions is my JAM! I am a firm believer in bringing cooking into the classroom for so many reasons. Not only is it super fun and engaging for your kiddos, but it will also help you target speech and language skills with ease.
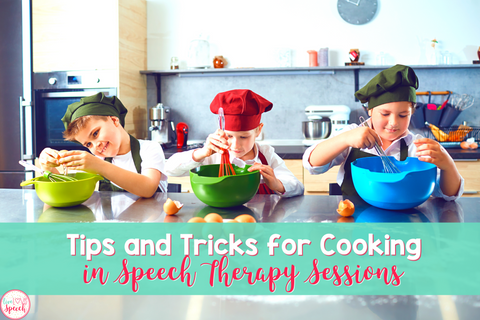
If you have been wanting to start cooking in your speech sessions, having some plans in place will definitely help make sure things go as smoothly as possible! Today, I am sharing my TOP tips and tricks for making cooking in speech extra fun and less stress-free! Let’s do it!
TIP: PREPARING TO COOK
Before you start cooking, you will want to make sure you have some basic tools and materials on hand. Things can be a little tricky when it comes to cooking in the classroom, BUT with a few simple tips you will be ready in no time.

First off, you will want to consider if you have access to some small kitchen appliances such as a microwave and a small toaster oven. One option is to check with colleagues and your school break room to see if you can borrow these items for your sessions. Alternatively, you can consider investing in these items if you have space in your office or speech room. If you take this route, I highly suggest checking out garage sales and thrift stores for some amazing deals on these. Walmart and Target are also great places to check if you want to buy new. (I got a small microwave for super cheap from Walmart years ago and still have it!)
Do what you can and remember, there are plenty of “no-cook” recipes available if you can’t get your hands on these items or don’t have the space. Small appliances are nice to have but in no way essential to “cooking” in speech!
TIP: COOKING TOOLS AND INGREDIENTS
Once you have that figured out, you will want to start gathering your tools and ingredients.
When I first started cooking with my preschoolers, I would only purchase ingredients for one recipe at a time, as I needed them. I quickly found that this was probably not the most cost-effective method.

Instead, I now recommend stocking up on versatile ingredients with a long shelf life. You can buy larger packages to cut down costs and save you time.
As an added benefit, building a speech “pantry” will have you ready to cook at a moment’s notice.
Some great items to stock are:
- all-purpose flour
- vegetable oil
- salt
- food coloring
These items typically have a longer shelf life and will be used in many of the recipes you use in your classroom. For specialty items in individual recipes, I often like to ask parent volunteers to donate these items. Children love contributing to the project and it’s a great way to build a classroom community. I like to include these requests in my newsletter at the beginning of the month and send out a reminder a week prior to my planned activity so that families will have plenty of time to contribute!
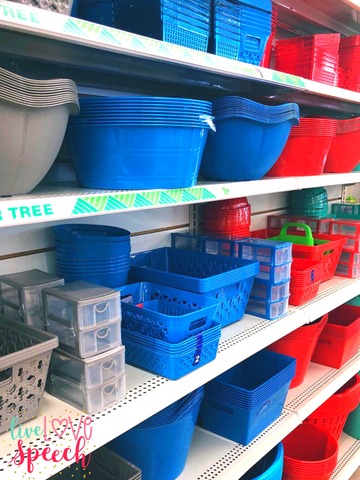
I also recommend keeping a stash of cooking tools handy for your projects. Listed below are the items I use most often in my lessons.
- measuring cups and measuring spoons
- baking sheet
- cutting board
- knife
- plastic silverware
- paper plates
- small disposable cups
Raid your cabinets at home first and see if you have anything that is “ready for the donation bin”. These items are PERFECT to repurpose in your classroom. If not, check out those garage sales, thrift stores, and the dollar store. Personally, I was able to find everything I needed at my local Dollar Tree and build the perfect cooking kit for under $10.
TIP: COOKING ACTIVITIES FOR THE WHOLE YEAR
Once you have all your items ready to go, it’s time to start planning your activities. I love thematic lessons and find that cooking is a great way to bring themed lessons into my classroom regularly. My students LOVE seasonal activities and cooking is no exception!
To make seasonal planning a snap, I have compiled over 50 seasonal recipes in my Cooking and Craft Visual Recipe Pack. In this comprehensive resource, you will find 10 recipes for each of the seasons along with an additional 10 that can be used any time of the year. Fun recipes like Halloween Slime, Grinch Popcorn, Spring Snack Mix, and Ice Cream Play Dough are sure to excite your little learners and make planning easy for you!
These recipes help target key skills including answering/asking questions, following directions, sequencing, expressive language, vocabulary and so much more! I am always amazed at just how much my students learn during cooking sessions and how much language growth they have when they are fully engaged in the activity.
MORE COOKING ACTIVITIES
Once you see just how much learning happens during these cooking activities, you will probably want to incorporate even more cooking into your lessons.

In addition to my seasonal recipe pack, I created another resource filled with recipes for “doughs, snacks, and milkshakes”. My Cooking and Craft Visual Recipe Pack, Vol. 2 is packed with 30 more recipes to use in the classroom. These simple and fun recipes are sure to engage your students and continue building those key skills and help meet learning outcomes.
You can grab this fun Kool-Aid Play Dough FREEBIE in my store!
TIP: MAXIMIZE LEARNING
In order to maximize your students’ opportunities for learning, you will want to keep a few key things in mind during cooking activities.
1. SET THE STAGE FOR SUCCESS
First off, always have a visual aid for your students. This will help with vocabulary, expanding utterances, labeling, following directions, and way more.
Luckily for you, all of my recipes come with a visual recipe card and vocabulary cards to make this super simple to implement!

I like to start each of my cooking lessons off by going through the vocabulary cards with my students. I will hold up each card, ask my students to name the item, and find it on our table. This is the perfect way to start your cooking activity with some in-depth vocabulary work and get your students familiar with the tools and ingredients you will use.
2. CONDUCT THE ACTIVITY
Next, start following along on the visual recipe card, and make sure to take your time and ask LOTS of questions along the way.

While these recipes are super simple and easy to pull together, I like to move slowly through the recipe and maximize skill building during this time.
You will find there are many opportunities for WH questions, describing nouns, following directions, labeling items and so much more.
You will be amazed by how much language production is made during this process!
3. FOLLOW UP
Finally, wrap up this activity with some comprehension questions. Both Vol. 1 and Vol. 2 of my Visual Recipe packs come with visual comprehension question cards for each activity!
You will love this follow-up activity to really drive your learning goals home and check-in to see how each of your littles are progressing in this area.
Speaking of tracking progress, both of my visual recipe packs also come with data collection sheets to easily monitor the progress of your students through the year.
In addition, these fun resources also include a parent letter to make communicating with parents a quick and easy task.
LET’S GET COOKING!
Alright friends, have I convinced you to get cooking? Are you ready to give cooking activities a try in your own classroom? Why not start with this awesome free visual recipe.
This Green Apple Play Dough Visual Recipe will help you target key skills like following directions, vocabulary, WH questions, describing nouns and so much more!
Give it a try and see what cooking can do for your speech therapy sessions!
If you love this freebie and are ready to plan a whole year’s worth of cooking activities for your speech sessions, don’t forget to check out both Vol. 1 and Vol. 2 of my Cook and Craft Visual Recipe packs. I’m confident that these resources will simplify your planning, bring joy to your classroom and help you be the best SLP you can be!
SAVE THESE COOKING IDEAS FOR LATER
Don’t forget to pin these ideas on your favorite classroom Pinterest board so that you find them easily when you’re ready to get cooking!

